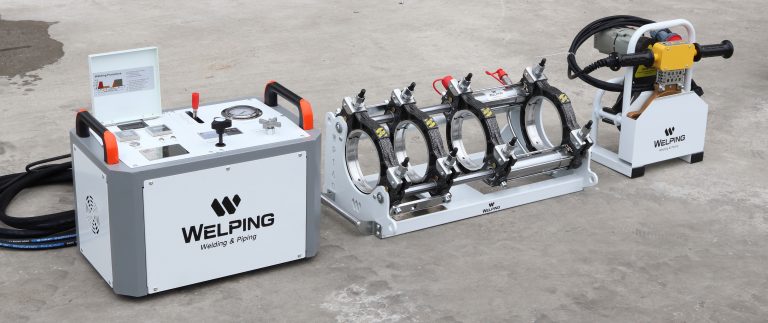
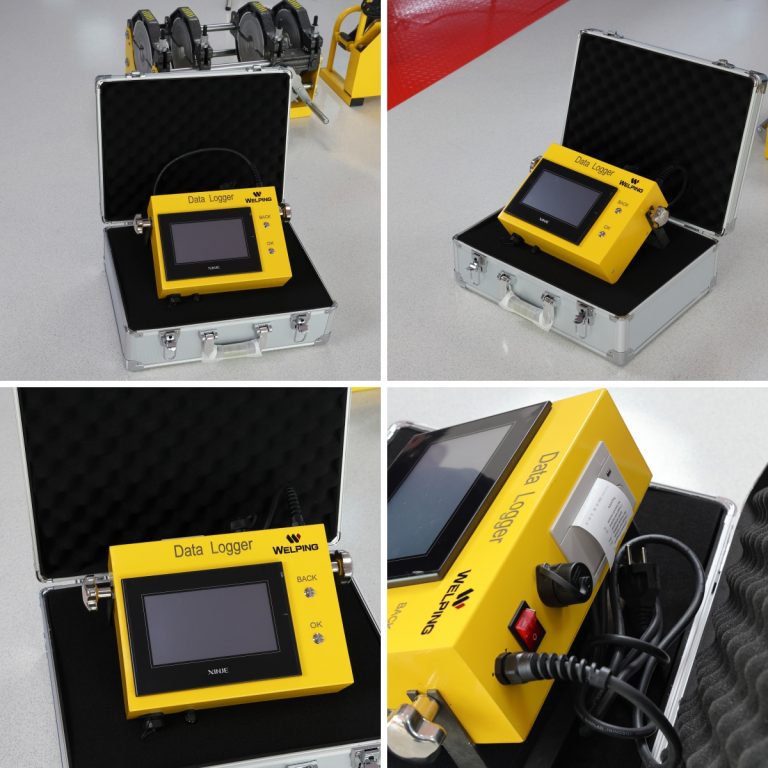
After the welding process is completed, it is essential to assess the firmness of the weld seam to ensure the safety and functionality of the welded structure. Here are some common methods:
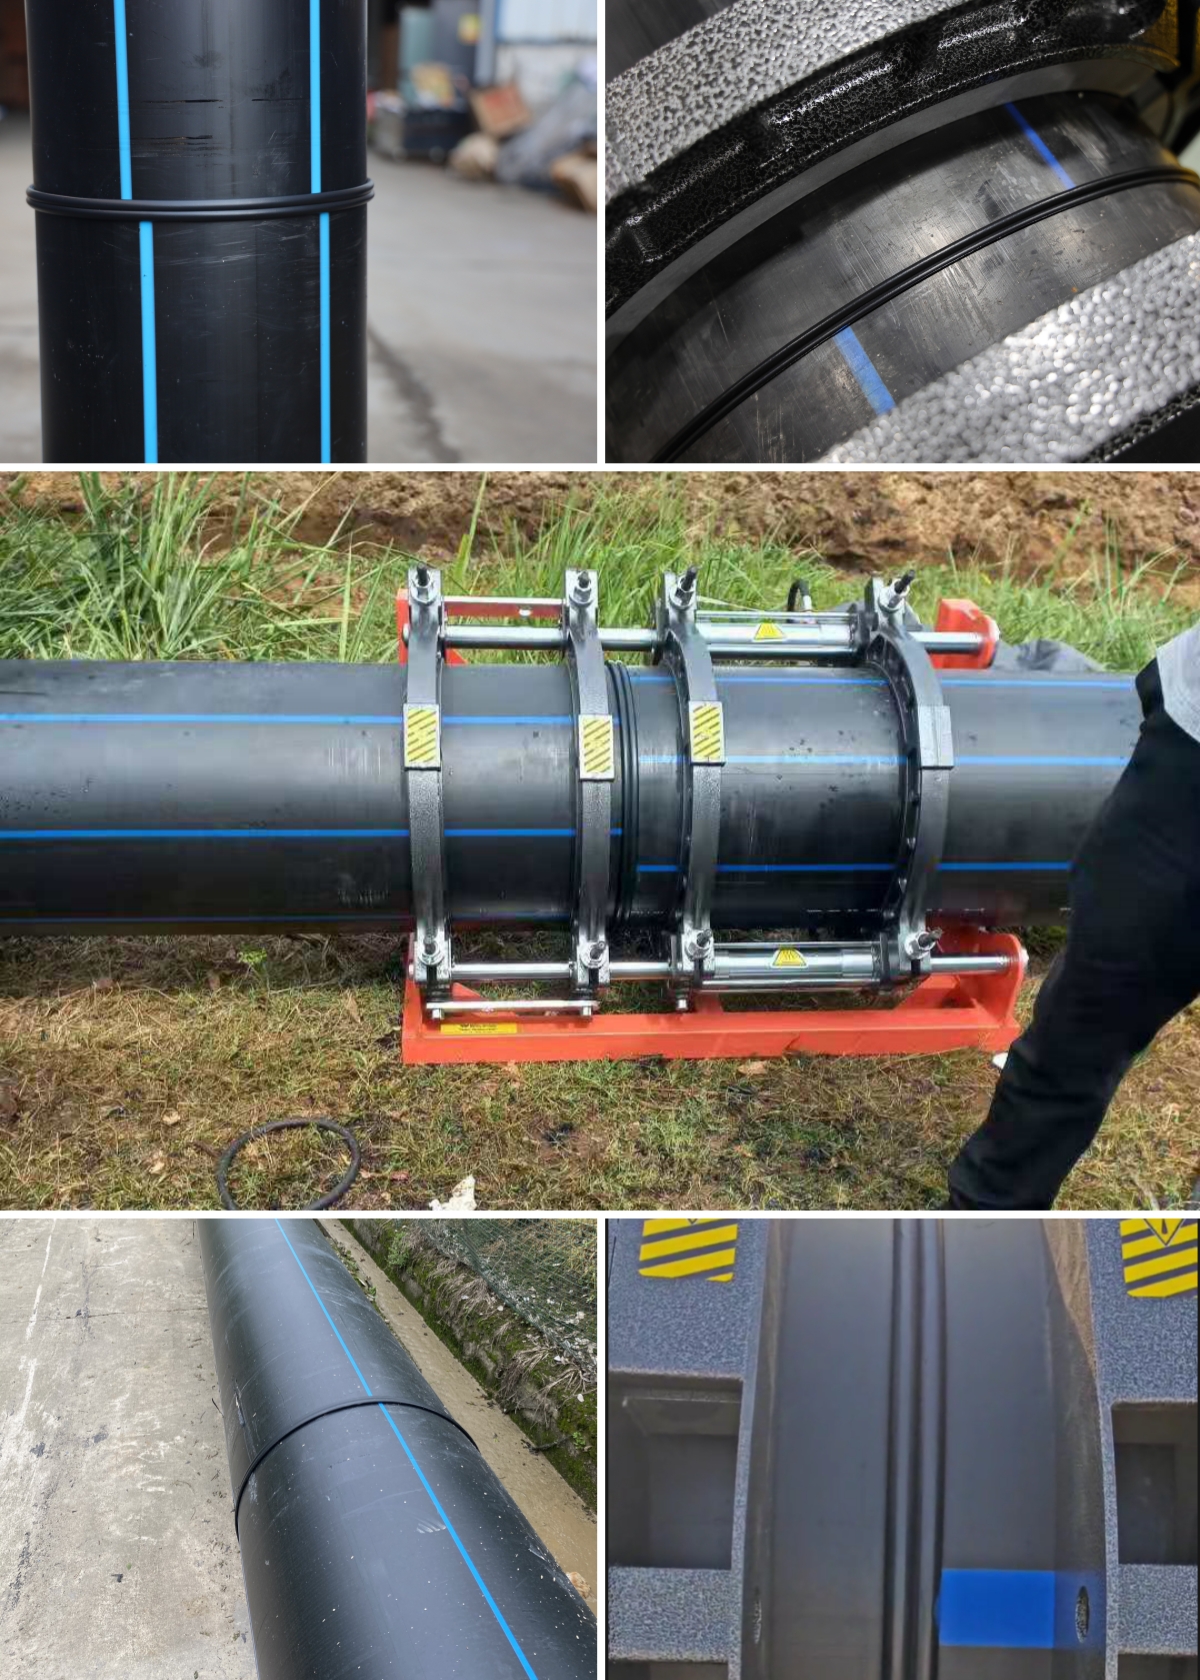
- Visual Inspection:
- Observe the weld surface for any cracks, porosity, undercuts, or excessive protrusions.
- Check for uniform color and texture, as inconsistent appearance may indicate issues.
- Non-Destructive Testing (NDT):
- Ultrasonic Testing: Sends high-frequency sound waves through the weld to detect internal flaws and discontinuities.Radiographic Testing: Uses X-rays or gamma rays to create an image of the weld’s internal structure, revealing hidden defects.
- Magnetic Particle Inspection: Helps identify surface and near-surface cracks in ferromagnetic materials.
- Mechanical Tests:
- Tensile Tests: Measures the strength of the weld by subjecting it to pulling forces.
- Hardness Tests: Determines the hardness of the weld and adjacent areas to evaluate the mechanical properties.
- Destructive Testing (In Some Cases):
- Although destructive, it can provide precise information in controlled environments.
- For example, sectioning the weld and analyzing it under a microscope.
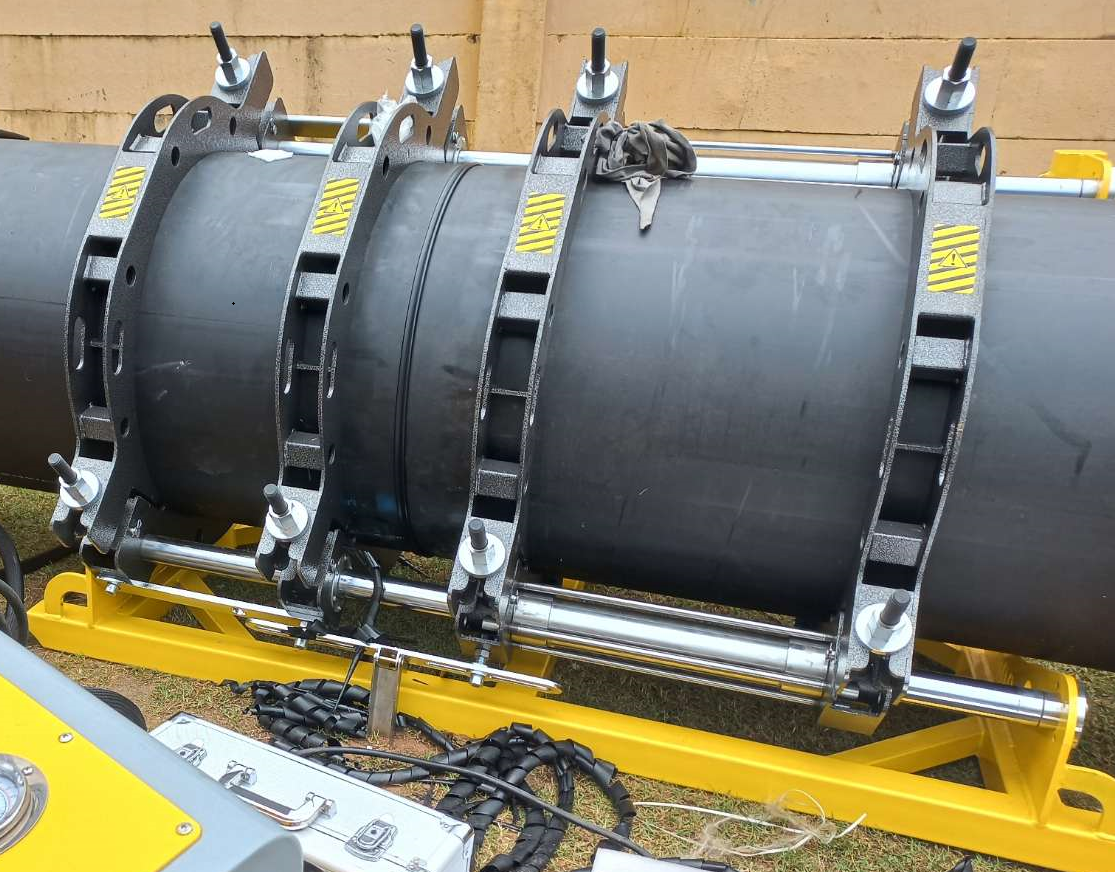
In summary, a combination of these methods, depending on the specific requirements and nature of the weld, is necessary to accurately determine whether the weld seam is firm. Careful inspection and appropriate testing help ensure the quality and reliability of the welded components.

